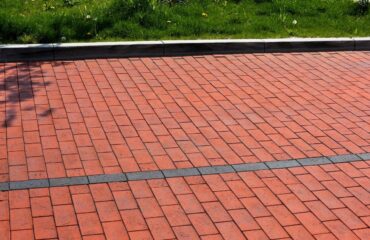
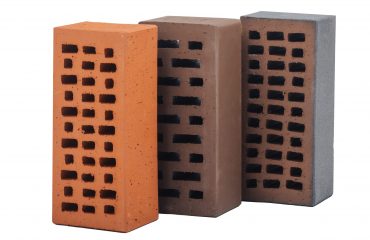
Grouting clinker work. Clinker grouting tips
The aesthetics of any wall can be improved by a well grouted joint that matches the color and shade of brick. However, for the joint to look impressive, it must be grouted professionally to avoid soil and stains of smeared mortar. Importantly, the process of grouting clinker work is slightly different than grouting ceramic slips in the bathroom. Here are some tips from experts that allow you to achieve perfect results of grouting.
Grouting clinker work. Dry or wet?
Before we discuss grouting clinker work in detail, let’s emphasize once again that this work is done differently than grouting, for example, glaze or stoneware. The first difference is joint width (a 8-15 mm joint is recommended here), but the most important is that unglazed clinker brick is more susceptible to grout soiling than glazed ceramic slip. Therefore, you have to be careful and avoid smearing the applied cement mix. If the clinker work is stained by cement mortar, it obviously can be cleaned, but this is an additional, time-consuming and unnecessary procedure that can easily be avoided.
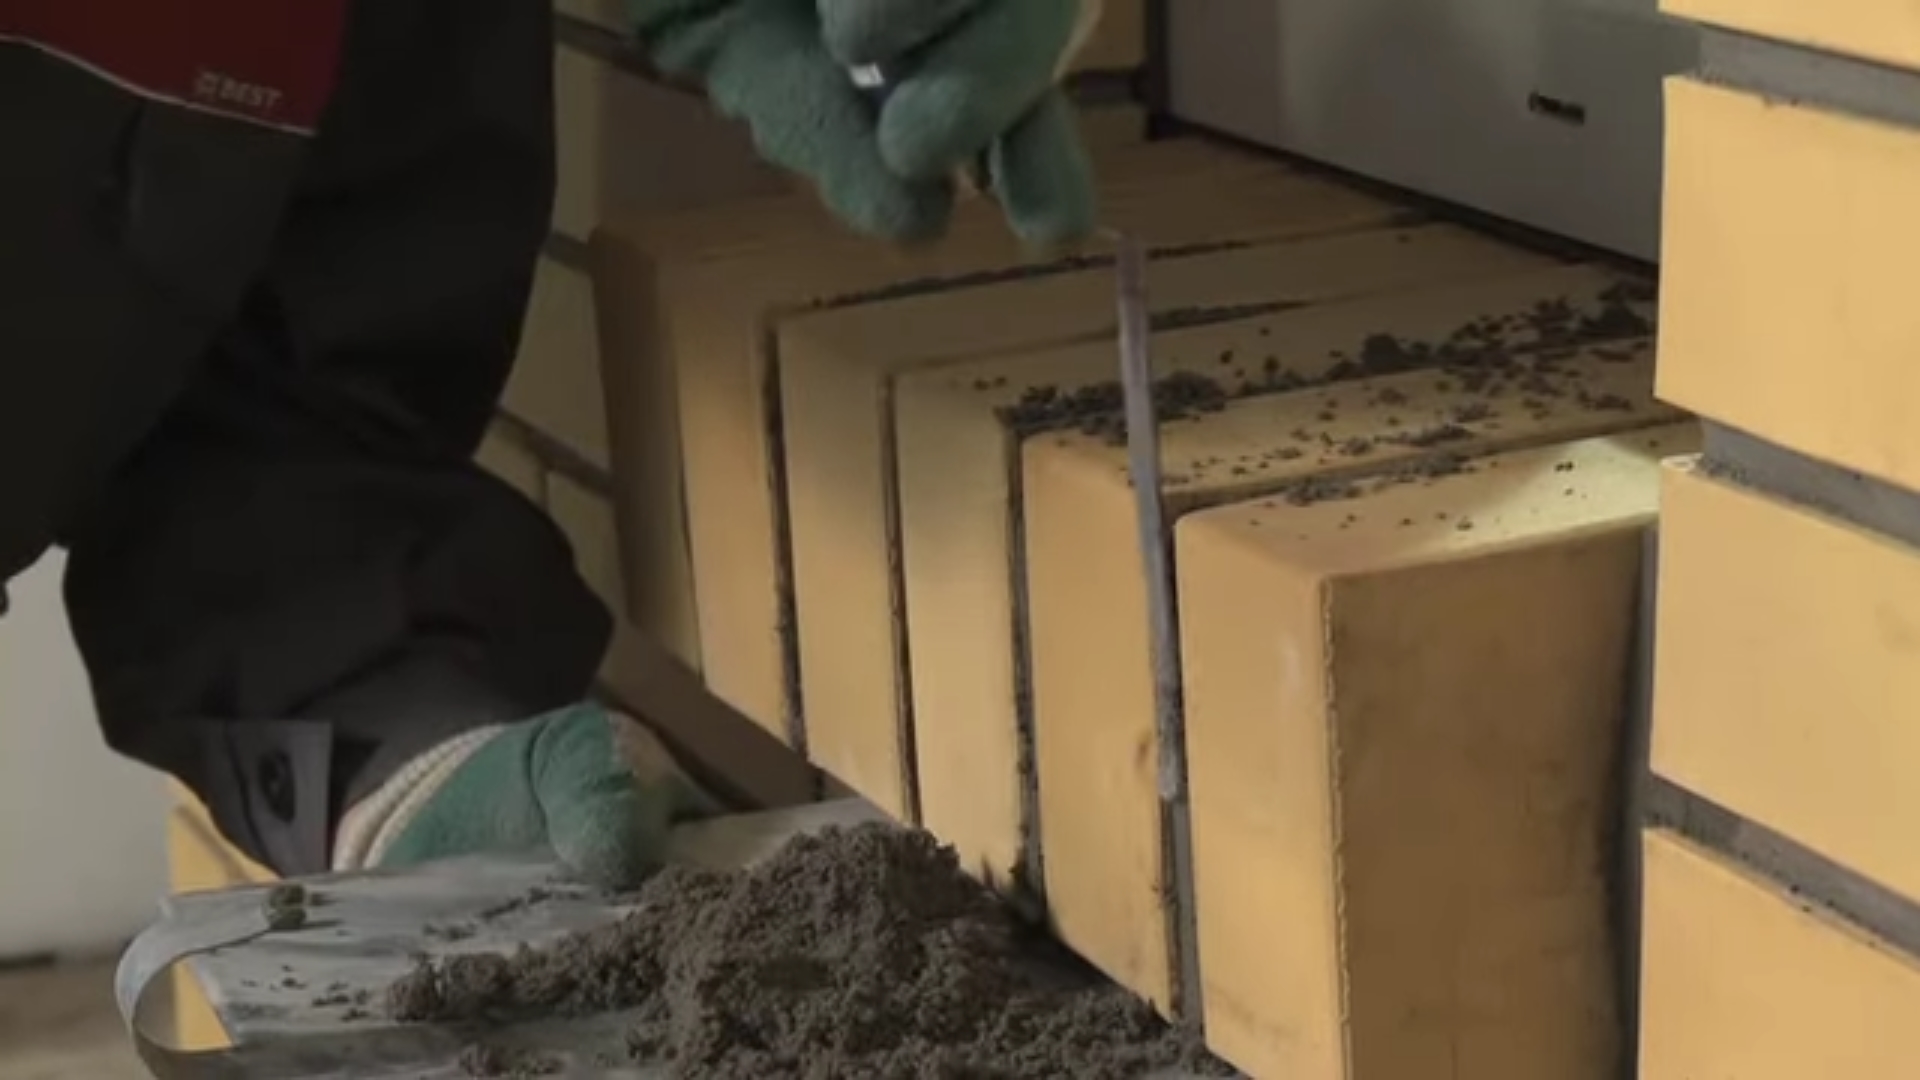
Therefore, wet grouting of clinker slips is not recommended, as it causes soiling on the face of the slip, which has to be cleaned afterwards. Clinker work is grouted semi-dry with the use of a loose but moist mass, mixed with a small amount of water to the consistency of wet soil. Semi-dry clinker work grouting means working with a dense, non-smearing, easy to shape grout.
Clinker work grouting methods and materials. Materials and tools
The question of whether clinker work can be grouted is probably due to the fact that in Poland grouting is basically done while laying bricks, using the same mortar. Grouting clinker brickwork is not, therefore, usually a completely separate stage of work – as is the case with slipped floors or walls. Nevertheless, this process requires great care, including the use of a special lime-free grout for clinker bricks (multiple purpose grouts and mortars for facing bricks sometimes contain lime) as well as a few special tools.
Before you start grouting clinker brickwork prepare necessary tools: container for the grout, grout tray, jointers (a long one for horizontal joints and a short one for vertical joint) with a width matched to the brick/slip spacing. The procedure itself consists in scraping grout from a tray, which edges adhere to the wall, pressing it the the use of jointer into the spaces between bricks or slips. The final shape of the joint is achieved after initial setting with jointer or special scraper. Finally, the entire grouted surface has to be brushed in order to remove any remaining mortar.
Grouting clinker work – Practical tips
As already mentioned, in Poland, clinker work is usually grouted at the time of laying the bricks. If the joints are to be made separately, however – which is always the case with slips, you should wait the minimum of 7 days for the mortar or glue to set.
How to grout clinker work? First of all, take your time and ensure the consistency of mortar is right. It’s the key to success. We fill the spaces between bricks/slips to their faces – it will be easier to form the expected shape of the joint if you apply grout with some excess. You will collect the excess while forming the shape. Remember that as opposed to interior arrangements where joints can be very recessed, façades, fences or garden objects require the joint to be hight and almost flush with the brick or slip face.
Keep a constant order of joint forming – first the horizontal joints, then the vertical ones. And when the grout is finally set, you can enjoy the results of a job well done.


